Muc-Off
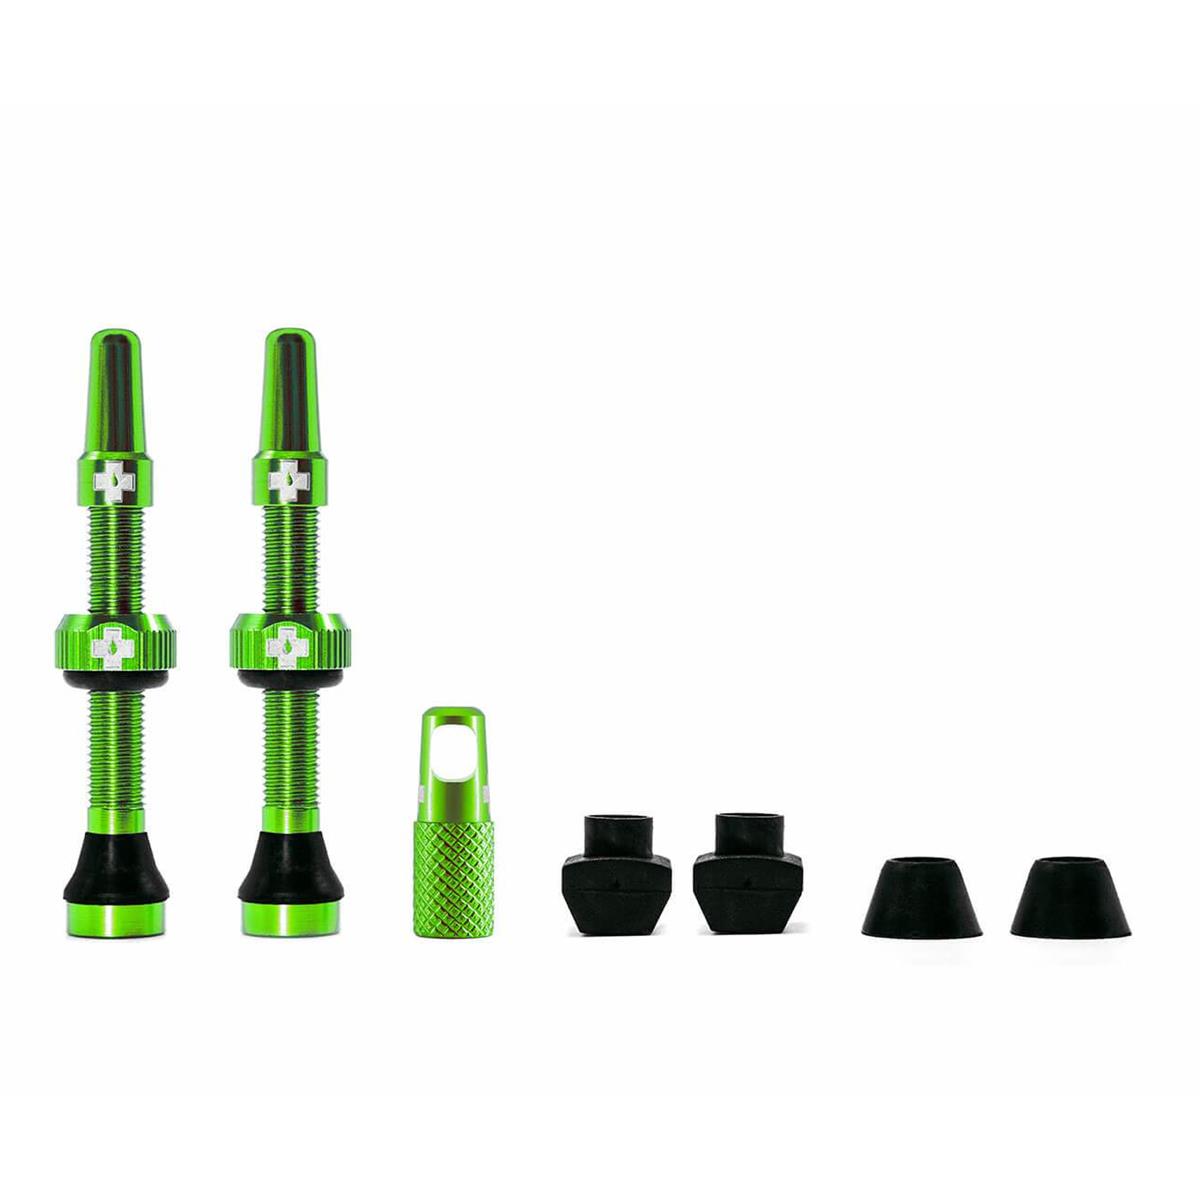
Tubeless Valve Kit
Details:
- 6061 Aluminum machined stem and cap
- Square and round rubber seals for all rim types
- Nut with integrated rubber seal
- Replacement valve cap with integrated core removal tool
- 4 mm machined hex key slot for easy installation and removal
- Delivery includes: 2 tubeless valves, 2 square rubber cones, 2 round rubber cones, 1 replacement valve cap with core removal tool
- Note: Exemplary image, length differs according to selection
Directions for use:
Step 1-Muc-Off tubeless valves will work with most tubeless rims. If you are unsure, please refer to your rim manufacturer's instructions to check which tubeless valves will work for your rims.
Step 2 – Firstly, remove the valve cap, locking ring and o-ring from the valve stem.
Step 3 - Then choose the correct rubber base for your rim type. Rims with a curved rim section will use the circular rubber base. Rims with a square rim section will use the square rubber base. Slot this on down to the bottom of the valve stem. (If you find your rim has a larger valve hole and the smaller circular fitment is too loose, use the larger circular fitment to plug the hole)
Step 3 – Now push the valve stem into the hole in the rim and push it right the way though. Then place the rubber 0-ring onto the valve stem and slide it all the way down until it meets the rim.
Step 4 – Screw the locking ring onto the valve stem and tighten down above the o-ring. This sandwiches between the locking ring and the rim. Push firmly down on the valve base inside the rim as you tighten the locking ring. Keep pushing until the locking rick is hand tight and the rubber o-ring squashes out. This way you know you've created a good air tight seal.
Step 5 – TIP - don't over tighten as this can cause leaking. Finish by screwing on your preferred valve cap.
Step 6- Use the valve core removal tool (integrated into spare alloy cap) to remove the core and fill with no puncture hassle tubeless sealant and inflate. Job Done!